Do you have a Control Panel Item in Windows 10 that you would like to pin to the start menu? Well then, you’ve probably already realized that Microsoft has provided no easy way to do this. Don’t worry, it is still possible to do using the following steps. This may be very helpful to pin items that you use often such as the Mouse Settings or Network and Sharing Center.
To Pin a Item to Start When “Pin To Start” Is Not Available
- Open the Control Panel.
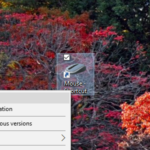
- Create a shortcut on the desktop by dragging the Control Panel Item to the desktop, or by right-clicking and choosing “Create Shortcuts”.
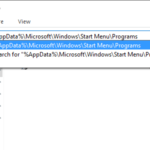
- Open File Explorer and navigate to %AppData%MicrosoftWindowsStart MenuPrograms. Note, %AppData% is an environment variable that contains the path to the current user’s AppData folder.
- Copy or Move the shortcut created in step 2 from the desktop to the AppData location in step 3.
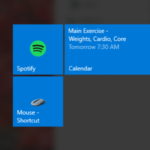
- At this point, the Control Panel item will show up in the list of programs in the start menu, but it is not yet pinned. Find the new item that has been added to the Programs list in your start menu and right-click. You will now see the “Pin To Start” menu option. Click “Pin To Start” and the item will be pinned.


